Category: Article

  • Starfield Failed to Create Save Error Game

    Starfield Failed to Create Save Error Game

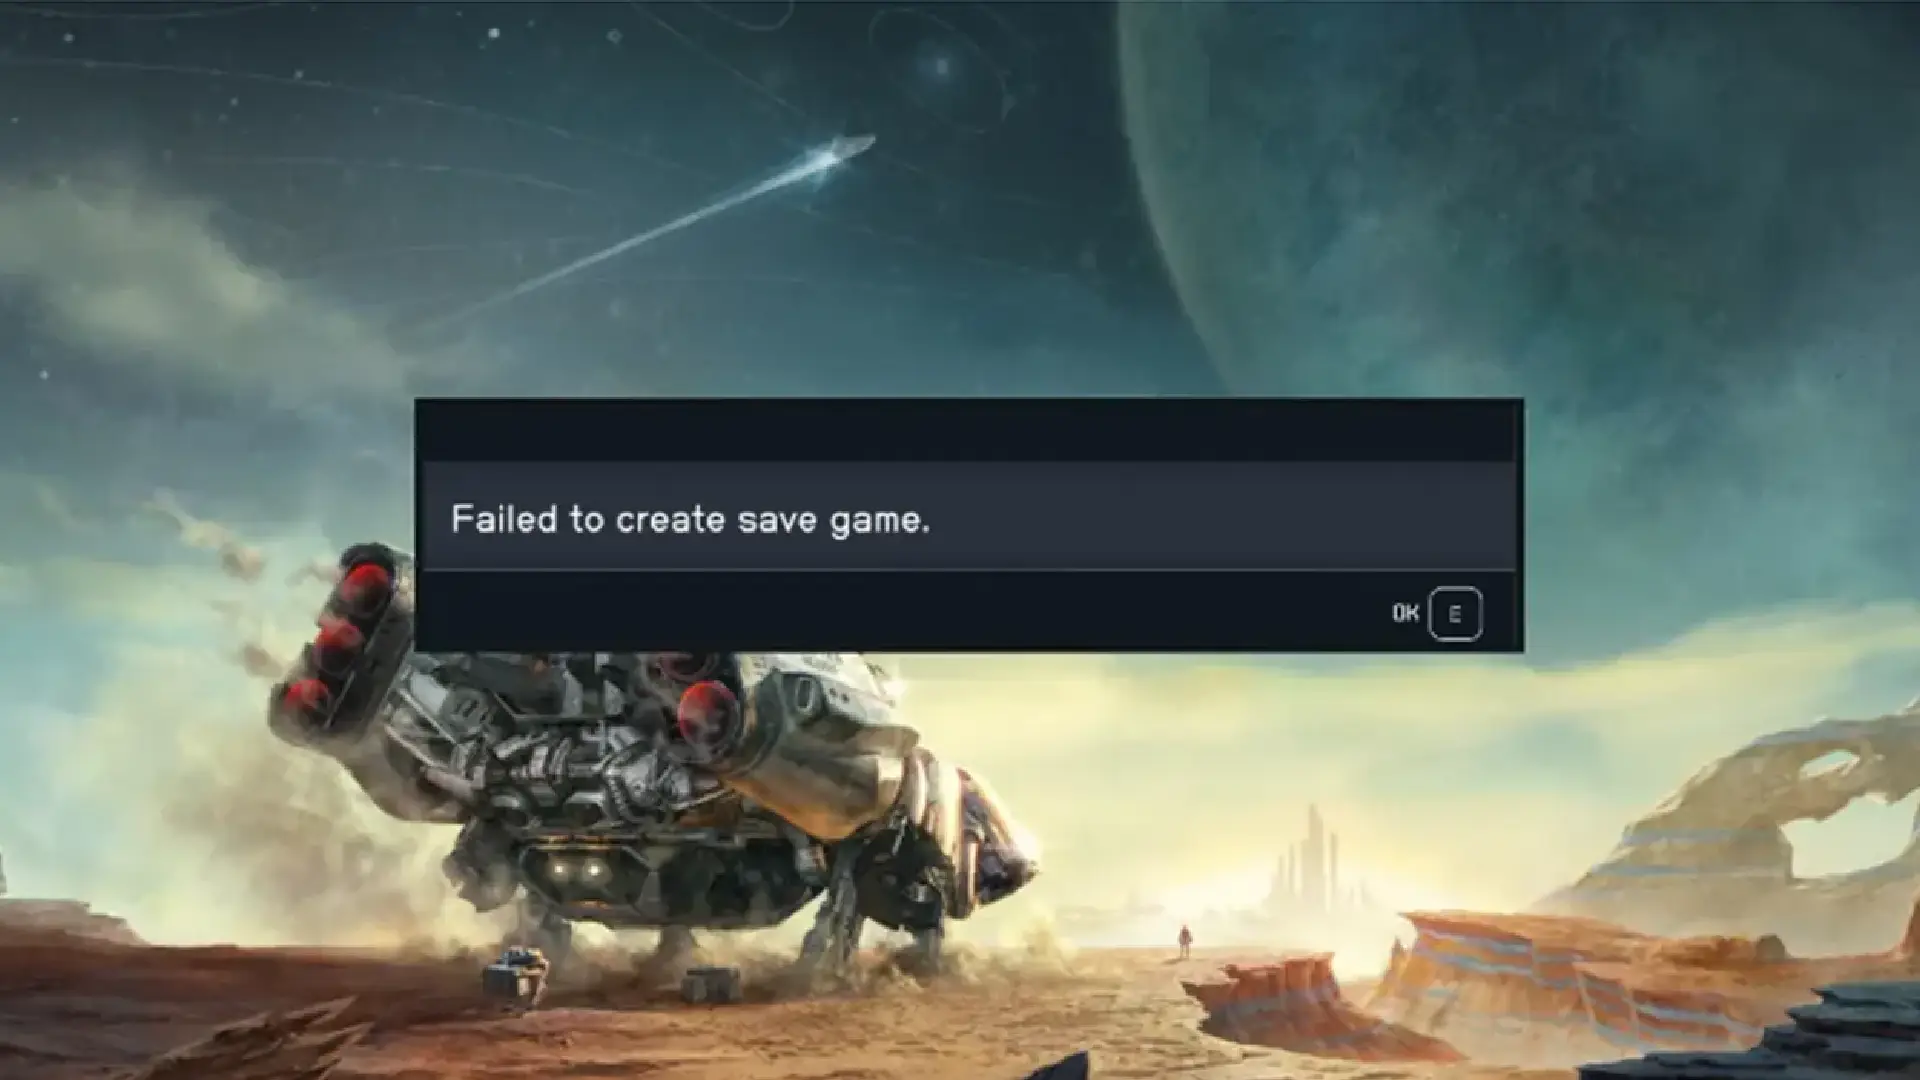
    Discover solutions for the vexing “Starfield failed to create a save game” error affecting PC and Xbox Game Pass users.
    Starfield Failed to Create Save Error Game

    Understanding the Starfield Save Game Error

    Unravel the complexities of the “failed to create a save game” error haunting both PC and Xbox Game Pass users during Starfield missions. Explore the challenges of saving progress and delve into the root causes of this persistent issue.

    Extending the Reach: Steam Users Encounter the Same Woes

    Even Steam users are not exempt from the frustrations caused by the “failed to create a save game” error on PC. A widespread problem, it has compelled players to seek solutions across multiple forums.

    Identifying Reasons Behind the Starfield Save Game Error

    Explore the primary reasons contributing to the Starfield save game error:

    1. Permission Issues: The inability to save can often be traced back to permission problems.
    2. Disk-Related Problems: Issues with your disk can obstruct the creation of a saved game file.
    3. Third-Party Applications: Antivirus and firewall applications may interfere with Starfield’s save game process.
    4. Corrupted Game Files: The presence of corrupted essential game files can lead to the persisting problem.

    Resolving Starfield Failed to Create Save Game Error on PC: Practical Solutions

    If you’re grappling with the Starfield save game error on your PC, consider the following steps to resolve the issue.

    1. Preliminary Checks

    Before diving into complex solutions, perform these checks:

    • Ensure you have administrator privileges.
    • Confirm that both your Steam software and Starfield are up-to-date.
    • Check your PC for adequate disk space.

    2. Disable OneDrive Sync for the Document Folder

    Follow these steps to disable OneDrive sync for the Document folder:

    • Right-click on the OneDrive icon on the Taskbar.
    • Navigate to Settings, select the Sync and Backup tab.
    • Click on Manage Backup and toggle off Documents.
    • Save changes and run Starfield to check for improvements.

    3. Allow Starfield Controlled Folder Access in Windows Security

    Grant permission to Starfield.exe in Controlled Folder Access:

    • Open Settings, navigate to Privacy & Security.
    • Click on Windows Security, go to Virus & Threat Protection.
    • Access Virus & Threat Protection settings, and click on Manage Settings.
    • Scroll down to Manage Controlled Folder Access.
    • If on, click Allow an app through Controlled folder access.
    • Select Starfield.exe and restart your PC.

    4. Changing User Folder Path

    If previous methods fail, revert user folder paths altered by OneDrive:

    • Open Windows Registry Editor (Windows button + R, type regedit).
    • Navigate Computer\HKEY_CURRENT_USER\Software\Microsoft\Windows\CurrentVersion\Explorer\User Shell Folders.
    • Modify the path for folders containing OneDrive, changing it back to the default.

    Implement these solutions to address the Starfield save game error and resume your interstellar journey without hindrance.

  • Starfield Extreme Weather Bug:Resolving Status Effect Glitches

    Starfield Extreme Weather Bug:Resolving Status Effect Glitches

    Discover effective solutions to tackle the persistent Starfield Extreme Weather Bug that’s causing frustration among players. Learn how to remove the hazardous status effect and get back to smooth gameplay with our comprehensive guide.

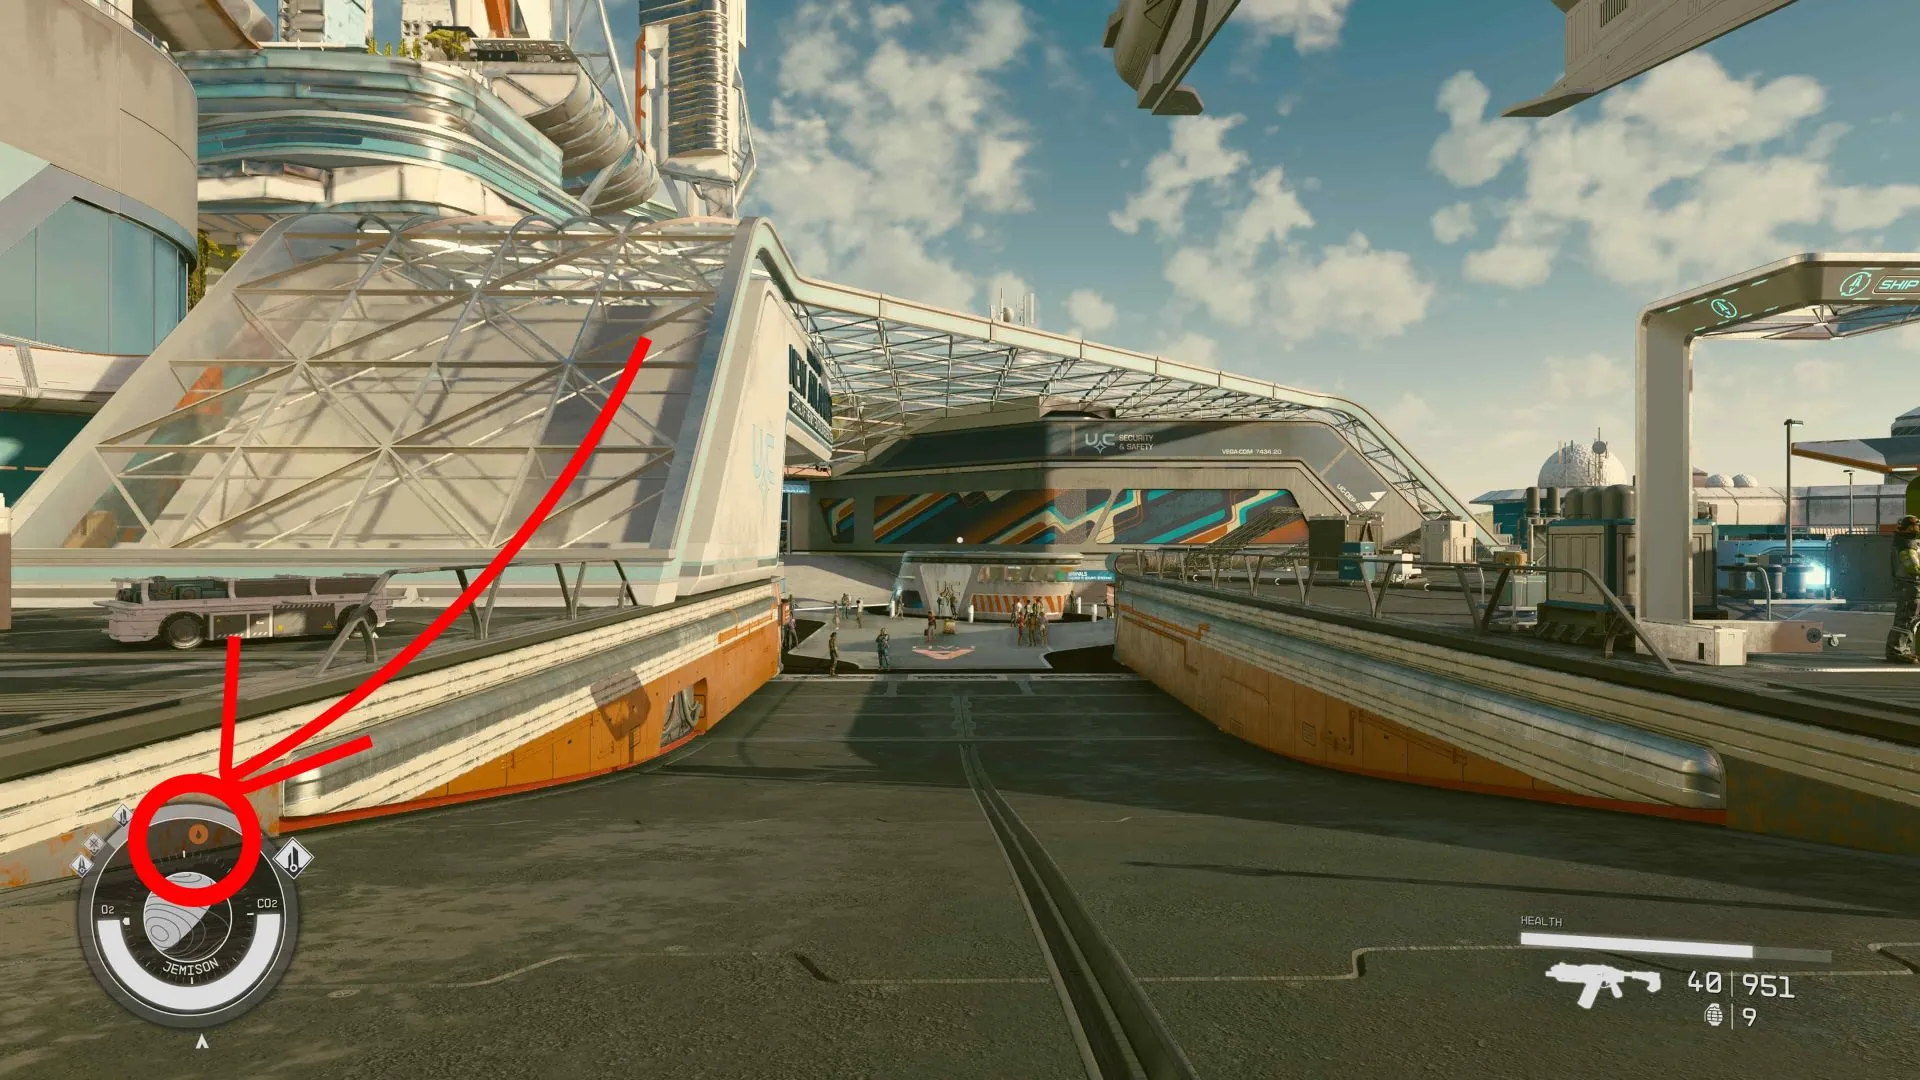
    What is the Starfield Extreme Weather Bug?

    Unraveling the mystery behind the Starfield Extreme Weather Bug and understanding its impact on players. Delve into the details of this persistent issue that keeps the hazardous status effect active, even across planet changes and extended waits.

    How to Fix Starfield Extreme Weather Bug

    Explore a variety of solutions to address and eliminate the annoying incoming weather bug in Starfield. Follow these steps to regain control and enjoy a glitch-free gaming experience.

    1. Head to Extreme Weather System and Run Back to Ship

    Navigate to a planet with a hazardous system, whether it’s the same planet where the issue first occurred or not. Stand in the storm, then swiftly run back to your ship. Enter the ship without using fast travel to potentially remove the incoming weather effect.

    2. Wait for Hazardous Weather System to Clear

    Exercise patience by staying inside a hazardous system until the storm subsides. Whether you choose to sleep in an outpost bed, a chair, or even a cave, waiting out the storm may lead to the disappearance of the incoming weather effect.

    3. Use Console Commands

    For PC players, leverage the console command feature by pressing the “~” key. Type in “player.removespell 1639f9″ to eliminate the effect. Keep in mind that this action disables Achievements, but they can be reenabled using a mod. To remove other conditions, type “help “(condition)” 4″ and find the spell ID in the “OTHER FORMS” section.
    Starfield Extreme Weather Bug

    Starfield Extreme Weather Bug FAQ

    Q: What is the Starfield Extreme Weather Bug and how does it affect players?

    A: The bug is a persistent issue where the hazardous status effect remains active on players. Changing planets or waiting for extended periods doesn’t always resolve the problem, making it a frustrating experience for players.

    Q: How can players try to resolve the incoming weather glitch without restarting the game?

    A: Players can head to a hazardous weather system, experience the storm, and quickly return to their ship without using fast travel. Alternatively, waiting out the storm in safe spots like outposts or caves may remove the effect. PC players can use console commands, but this may disable Achievements.

    Q: Are there repercussions for using console commands to rectify the bug?

    A: Yes, using console commands deactivates Achievements, but they can be reactivated with a mod. Additional commands can pinpoint and eliminate specific effects for a tailored solution.

  • How To Fix Starfield Into the Unknown Bug: All Possible Fixes

    How To Fix Starfield Into the Unknown Bug: All Possible Fixes

    Embarking on the “Into the Unknown” quest in Starfield introduces players to the vast mysteries of the universe. However, a persistent bug is hindering many players from completing the mission, leaving them stranded without a clear resolution. The quest involves traveling to a specific planet to investigate a mysterious signal, but players find themselves unable to locate the source despite thorough exploration.

    The Frustrating Reality of the Bug

    Encountering the “Into the Unknown” bug can be a source of immense frustration in the RPG title, exacerbated by the absence of permanent fixes. In this guide, we will explore temporary workarounds that players can employ to address the bug and continue their cosmic adventures.

    Temporary Workarounds for the “Into the Unknown” Bug

    1. Make Time Lapse: Attempt to fix the error by skipping time or creating a time-lapse in Starfield. This bug may be linked to reaching the signal location, making a time skip of 24 to 48 hours a potential solution that has proven effective for some players.
    2. Use a Console Command: While not recommended for completionists seeking a 100% run due to its cheat nature, using a console command is a potent fix for the bug. Press “~” to open the command prompt and type “setstage 000160A9 600” to skip the mission. Be aware that this bypasses content and achievements.
    3. Load from Your Most Recent Save: Reloading from the most recent save is a viable option. Some community members report success by reloading previously saved data a few times to overcome the bug.
    4. Restart the Game: Though seemingly straightforward, restarting Starfield has proven effective for some players facing the quest bug. If other methods fail, consider restarting the game multiple times to check for a resolution.
    5. Fast Travel to Another Planet and Back: If the target planet (Procyon III) poses challenges in locating the signal, try fast traveling to another planet and returning to Procyon III. This basic fix has shown promise in resolving the bug.
    6. Wait for a Patch: Given Starfield’s known performance issues, including frame and audio problems, it’s advisable to wait for Bethesda’s hotfix. Keep the game updated to the latest version to ensure that any patches addressing these bugs are applied promptly.

    Conclusion: Navigating the Cosmos with Persistence

    While the “Into the Unknown” bug may present challenges, these temporary fixes offer a glimmer of hope for players eager to continue their interstellar journey. Whether manipulating time or resorting to console commands, the cosmic mysteries of Starfield await those determined enough to navigate through the challenges posed by the bug. Stay updated, experiment with these workarounds, and may your quest through the unknown be free of hindrances.

  • How to Fix Starfield Stuck on Loading Screen and Performance Issues

    How to Fix Starfield Stuck on Loading Screen and Performance Issues

    Troubleshooting Guide: How to Resolve Performance Problems and Starfield Stuck on Loading Screen

    The newest title in Bethesda’s well-known game roster, Starfield, has drawn interest from players all around the world. Even with its praise, this game has technical issues just like a lot of other games from the current era. Gamers may encounter problems including freezing, lagging, stuttering, and becoming stuck on the loading screen. We’ll present you a thorough overview in this tutorial to assist you solve these issues and have a flawless gaming experience. Follow these instructions to re-enter the immersive Starfield universe, regardless of whether you’re having problems with a loading screen glitch or performance concerns.

    How to Fix Starfield Stuck on Loading Screen and Performance Issues

    1. Starfield Loading Screen Stuck: Solutions and Fixes

    Don’t worry if you find yourself stuck at Starfield’s loading screen; we’ve got you covered. To troubleshoot and fix the loading screen issue, take the following steps:

    2. Starfield Performance Issues: Enhancing Gameplay Smoothness

    Addressing performance issues is crucial for an enjoyable gaming experience. If you’re facing lagging, freezing, or stuttering in Starfield, follow these steps:

    3. Additional Tips for a Seamless Starfield Experience

    To enhance your overall gaming experience in Starfield, consider implementing the following tips:

    By following these steps and tips, you can navigate through the technical challenges of Starfield, ensuring a smoother and more enjoyable gaming experience. Say goodbye to loading screen issues and performance hiccups as you delve into the captivating world of Starfield.

    These procedures should assist in addressing the several problems that you can run into in Starfield. You can have a smoother and more pleasurable gaming experience with these options. Please feel free to ask for more help or voice your concerns in the comments if you have any more questions or are experiencing recurring problems.

    Watch The Video Tutorial to Fix Starfield Stuck on Loading Screen

    Video Credit: Silicophilic YouTube Channel

  • Ghost of Tsushima Cheat Codes, Secrets, Exploits, And Trainer for PC, PS4/5

    Ghost of Tsushima Cheat Codes, Secrets, Exploits, And Trainer for PC, PS4/5

    Ghost of Tsushima, the captivating 2020 action-adventure game, graces the PC, PS4, and PS5 platforms. Amidst its vast expanse, a myriad of pursuits awaits – from immersive side quests to the pursuit of Singing Crickets and the exploration of sites such as Pillars of Honor. However, before venturing too far, ensure you give precedence to these essential undertakings.

    Enriching Your Journey with Ghost of Tsushima Cheats:

    Within the realm of Ghost of Tsushima, a world brimming with challenges and dynamic actions unfolds. Yet, the realm of secrets and exploits is one that can illuminate your path, rendering your gameplay more delightful and manageable.

    This article is your compass through the hidden domains of Ghost of Tsushima, unveiling secrets, tips, and tricks that can reshape your journey. In addition, we’ll shed light on the most effective trainers that bestow the power of cheats upon you. So, let us embark on this exploration.

    Ghost of Tsushima Cheat Codes

    Ghost of Tsushima Cheats Unveiled:

    Regrettably, direct cheats for Ghost of Tsushima on PC, PS4, and PS5 are not at your disposal. However, the landscape is adorned with secrets, tips, tricks, exploits, and glitches that can be harnessed to amplify your experience. These treasures encompass avenues for acquiring wealth, harnessing the prowess of save wizards, navigating the German language, and much more. Let’s delve into these cryptic depths.

    Navigating the World of Ghost of Tsushima:

    1. Seizing the Bounty of Predators:

    Whenever you cross paths with wild boars or bears, seize the opportunity to hunt them down. These creatures offer precious predator skins essential for upgrading your armor. A word of caution: Wild boars charge on foot and flee on horseback. Employ the short bow to tackle them, while bears are best approached from a distance using the long bow, acquired through a Mythic Tale in Act 1.

    2. Harnessing Ghost Weapons:

    Jin’s Legend growth in Ghost of Tsushima ushers in new Ghost Weapons, potent tools that can be wielded to outmaneuver or vanquish foes. The first Ghost Weapon, Kunai throwing knives, serves well for staggering enemies, taking down Mongol dogs, and grounding eagles. Ghost Weapons such as the Black Powder Bomb, Sticky Bomb, Wind Chime, and more broaden Jin’s arsenal.

    3. Plundering Fallen Foes:

    As you progress, you’ll amass various types of ammo and consumables like arrows, throwing knives, and bombs. Remember to scour defeated adversaries for these resources. Stockpiling them is vital, preventing scarcity during critical moments within enemy outposts or intricate missions.

    4. The Allure of Mythic Tales:

    Immerse yourself in Mythic Tales – unique side missions granting abilities or items from Ghost of Tsushima: Legends. These tales are treasure troves of power, enhancing your combat prowess and bestowing formidable assets upon your journey.

    5. Augmenting Jin’s Abilities Through Exploration:

    The lands of Tsushima conceal treasures that bolster Jin’s capabilities. Investigating points of interest marked with question marks on the map unveils rewards such as new charms, additional charm slots from Fox Dens, increased health from Hot Springs, and honed sword skills from Bamboo Strikes. Surviving roadside ambushes during your traversal augments Jin’s Legend, yielding Technique or Skill points.

    6. The World of Side Missions:

    Ghost of Tsushima teems with side missions, known as Tales of Tsushima. These quests unravel a tapestry of outfits, resources, and XP, enriching your journey. While some side missions naturally unfold during exploration, others require interaction with individuals in towns and hubs marked by speech bubbles. A total of 61 side missions, depicted as silver icons on the map, awaits your discovery.

    7. Defending with Precision:

    Prioritize defense over offense as Jin’s health initially offers little leeway. Skillful use of parries, perfect parries, and dodges is paramount to mitigate damage and identify opportunities to counterattack. Vigilantly observing enemy movements paves the way for capitalizing on their vulnerabilities.

    8. Mastery of Jin’s Armor:

    Diverse armors, each with unique benefits like health enhancement, damage boost, and stealth augmentation, grace Ghost of Tsushima. Unveiling their potential involves varied methods, such as completing quests, liberating outposts, or exploring. The multitude of armors, including the likes of Ronin Attire, Samurai Clan Armor, Tadayori’s Armor, and Ghost Armor, necessitates strategic selection based on your objectives.

    9. The Importance of Initial Missions:

    Resist the allure of the expansive world when Ghost of Tsushima first grants you freedom. Instead, focus on completing the initial two missions. These missions unlock vital tools – the bow and Jin’s listening sense for enemy detection. Possessing these essentials equips you to tackle challenges effectively.

    10. Stance and Strategy in Combat:

    As you journey through Ghost of Tsushima, Jin’s combat prowess flourishes with the unlocking of four combat stances. Adapting your stance to the enemy type is key to unleashing effective heavy attacks. Each stance corresponds to specific foes, enabling Jin to breach their defenses and emerge victorious.

    11. Guided Exploration:

    While traversing Ghost of Tsushima’s expansive landscape, heed the subtle cues in your surroundings. Smoke on the horizon or enigmatic trees can lead you to points of interest. Leverage the Guiding Wind to orient yourself toward your objectives, revealing the island’s secrets and collectibles.

    12. Safe Ascent and Descent:

    Ascending cliffs in Ghost of Tsushima pose a minimal challenge but descending requires careful attention to prevent deadly falls. Stay attentive to the R2 prompt indicating a safe route while descending. Unlocking the Safe Landing Technique can help Jin survive falls during cliff climbing.

    A Bountiful Harvest of Achievements & Trophies:

    Ghost of Tsushima on PlayStation 4 boasts 52 trophies, each a testament to your accomplishments within this evocative realm. From mastering combat counters and dueling to commemorating locales and completing all tales, these trophies chronicle your journey’s milestones.

    Navigating Ghost of Tsushima’s World with Trainers:

    While the direct avenue of cheats is sealed, the realm of trainers opens up doors to augment your experience. Ghost of Tsushima trainers endow you with an array of cheat options, accelerating your journey’s pace. One recommended option is Alltrainerspc’s Ghost of Tsushima cheats trainer, offering a selection of +8 cheat options.

    Unlocking the Power of Ghost of Tsushima Cheat Engine:

    For those eager to wield cheats and console commands, the Ghost of Tsushima cheat engine stands as the conduit. Utilize Cheat Engine to venture into this realm, and visit the Fearless Revolution website to secure the cheat table. With this combination, the power to shape your gameplay experience rests in your hands.

    Embrace the Shadows of Cheats in Ghost of Tsushima:

    In your pursuit of mastery within Ghost of Tsushima, the infusion of cheats and secrets stands as an avenue to amplify both enjoyment and efficacy. The game’s intricate tapestry unfolds through these cryptic corridors, beckoning you to explore the potential that lies beyond the surface. As you navigate this realm, may your journey be enriched, your skills refined, and your experience illuminated by the hidden gems within.

  • How to Fix CSGO Black Screen on Windows 10?

    How to Fix CSGO Black Screen on Windows 10?

    Troubleshooting CSGO Black Screen with Sound: A Comprehensive Guide

    When launching Counter-Strike: Global Offensive (CSGO), players may encounter a persistent black screen with sound. This can be very annoying. In this guide, we look at common causes and offer detailed instructions for fixing the problem on Windows 10.

    Common Causes of CSGO Black Screen with Sound

    1. Outdated or Incompatible Graphics Drivers
    2. Corrupted or Missing Game Files
    3. Compatibility Issues with the Operating System
    4. Conflicts with Overlays and Third-Party Software
    5. Power Options Affecting Graphics Performance
    6. Fullscreen Optimization Conflicts
    7. Display Scaling Settings Causing Issues
    8. Improper Launch Options
    9. Incompatible Game Resolution
    10. Corrupted Game Installation

    How to Fix CSGO Black Screen with Sound on Windows 10

    Follow these comprehensive solutions to resolve the CSGO black screen with sound issue:

    How to Fix CSGO Black Screen on Windows 10?

    Solution 1: Update Graphics Drivers

    Ensure you have the latest graphics drivers installed by visiting the manufacturer’s website or using a reliable driver update utility.

    Solution 2: Verify Game Files

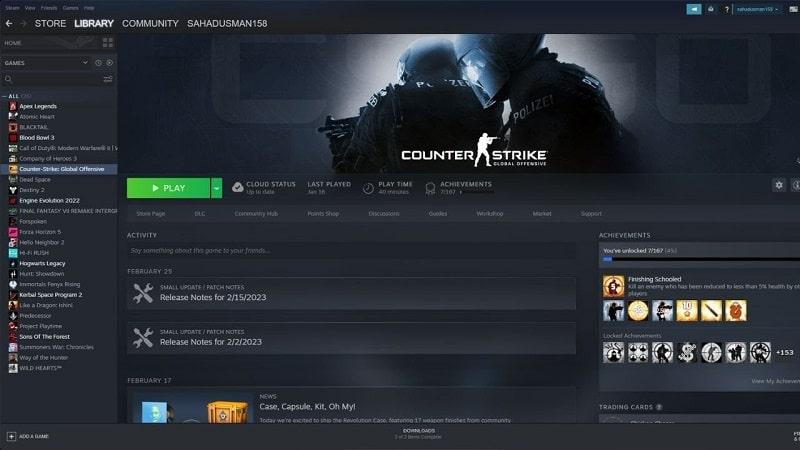
    Use the built-in feature of Steam to check the game files’ integrity. Select the Local Files tab, right-click on CSGO in your Steam library, choose Properties, and then choose “Verify Integrity of Game Files

    Solution 3: Adjust Compatibility Settings

    Right-click on the CSGO executable file, go to Properties, navigate to the Compatibility tab, enable “Run this program in compatibility mode for,” and choose an appropriate operating system.

    Solution 4: Disable Overlays and Third-Party Software

    Disable overlays (e.g., Discord overlay or Nvidia ShadowPlay) and exit unnecessary background applications to avoid conflicts.

    Solution 5: Adjust Power Options

    Open Power Options settings in Windows, select “High performance,” or a graphics performance maximizing power plan. Restart your computer and launch CSGO.

    Solution 6: Disable Fullscreen Optimization

    Locate the game’s executable file, right-click, select Properties, go to the Compatibility tab, check “Disable fullscreen optimizations,” and click Apply.

    Solution 7: Disable Display Scaling

    Right-click on the CSGO executable file, go to Properties, navigate to the Compatibility tab, enable “Override high DPI scaling behavior,” and choose “Application” from the dropdown menu.

    Solution 8: Modify Launch Options

    To add “-windowed” without quotes, right-click on CSGO in your Steam library, select Properties, “Set Launch Options,” and delete the current launch options. Start the game in a windowed fashion.

    Solution 9: Adjust Game Resolution

    In CSGO’s video settings, choose a compatible lower resolution. Apply the changes, restart the game, and check if the issue is resolved.

    Solution 10: Reinstall CSGO

    If all else fails, reinstall CSGO to resolve any corrupted game files. Uninstall, restart your computer, and reinstall CSGO from Steam.

    Conclusion

    Overcoming the CSGO black screen with sound issue is achievable with the provided solutions. Follow these steps systematically to enhance your gaming experience and eliminate interruptions.

    FAQs (Frequently Asked Questions)

    1. Why does CSGO show a black screen with sound?
      • The issue can result from various factors such as outdated graphics drivers, compatibility conflicts, corrupted game files, or incompatible settings.
    2. How can I fix CSGO black screen with sound on Windows 10?
      • Solutions include updating graphics drivers, verifying game files, adjusting compatibility settings, disabling overlays, adjusting power options, disabling fullscreen optimization, modifying launch options, adjusting game resolution, or reinstalling CSGO.
    3. Why is my CSGO screen black but I can hear sound?
      • This indicates a problem with the game’s graphics rendering, where the game is running, but visuals are not displayed.
    4. Can I fix the CSGO black screen issue on my own?
      • Yes, the provided solutions are designed to empower users to troubleshoot and resolve the issue independently.
    5. Will reinstalling CSGO delete my game progress?
      • Reinstalling CSGO won’t delete game progress stored in your Steam account. However, consider backing up game files to avoid potential data loss.

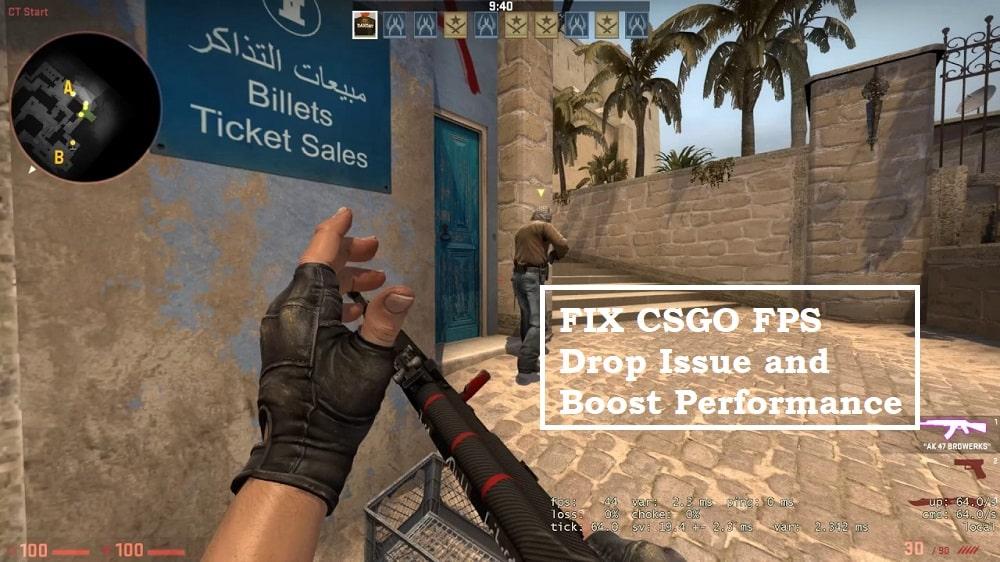
  • CSGO FPS Drop Issue: 10 Ways To Fix to Boost Performance 2023

    CSGO FPS Drop Issue: 10 Ways To Fix to Boost Performance 2023

    Introduction

    Welcome to our comprehensive guide on how to fix the CS:GO FPS drop problem in 2023. If you’re an avid gamer and enjoy playing CSGO, you understand the frustration that comes with sudden drops in FPS (frames per second). In this article, we will delve into the possible causes behind this issue and provide you with effective solutions to help you optimize your gaming experience. Let’s jump right in!

    Understanding the CSGO FPS Drop Problem

    In order to guarantee a fair and entertaining gameplay experience, CSGO, a fiercely competitive first-person shooter game, demands fluid gameplay. But a lot of players have had problems with FPS drops, which can seriously impair their performance. Let’s first discuss some possible causes for these drops before moving on to the solutions.

    CSGO FPS Drop Issue: 10 Ways To Fix to Boost Performance 2023

    Possible Causes of FPS Drops in CSGO

    1. Hardware Limitations: Outdated or underperforming hardware, such as the graphics card, CPU, or insufficient RAM, can be a primary cause of FPS drops.
    2. Software Interference: Certain background processes, conflicting software, or outdated drivers may interfere with CS:GO, resulting in decreased FPS.
    3. Overheating: Excessive heat can cause your hardware components to throttle, leading to decreased performance and FPS drops.
    4. Network Issues: Latency, high ping, or unstable internet connections can cause lag and affect FPS in online multiplayer matches.

    Now that we have a better understanding of the potential causes, let’s dive into the solutions to help you overcome the CS:GO FPS drop problem.

    Solution 1: Upgrade Your Hardware

    To optimize your CS:GO gaming experience, it’s essential to ensure that your hardware meets the game’s requirements. Consider the following upgrades:

    1. Graphics Card: Invest in a high-performance graphics card that meets or exceeds CS:GO’s recommended specifications. This will significantly enhance your FPS and overall gaming experience.
    2. CPU: Upgrade to a more powerful CPU to handle the demands of CS:GO. A processor with multiple cores and high clock speed can boost FPS and reduce drops.
    3. RAM: Increase your RAM capacity to provide sufficient memory for CS:GO and other processes running in the background. Aim for at least 8GB or higher for optimal performance.

    Solution 2: Optimize Software Settings

    Fine-tuning various software settings can help eliminate potential bottlenecks and improve your CS:GO FPS. Follow these steps to optimize your software:

    1. Graphics Settings: In the CS:GO settings menu, adjust your graphics settings to find a balance between visual quality and performance. Lowering certain settings, such as shadows and anti-aliasing, can significantly boost FPS.
    2. Update Drivers: Ensure that your graphics card drivers, motherboard drivers, and other relevant drivers are up to date. Outdated drivers can lead to performance issues and FPS drops.
    3. Disable Background Processes: Close unnecessary background processes and applications that may consume system resources. Use the Task Manager (Ctrl+Shift+Esc) to identify and terminate resource-intensive processes.

    Solution 3: Manage Overheating Issues

    Overheating can cause your hardware to throttle, resulting in decreased FPS. Consider the following steps to manage overheating:

    1. Clean Dust: Over time, dust accumulates on your hardware components, obstructing airflow and causing overheating. Regularly clean your PC using compressed air to remove dust and improve cooling.
    2. Improve Ventilation: Ensure proper airflow within your PC case. Position your computer in a well-ventilated area and consider adding additional fans or liquid cooling solutions for efficient heat dissipation.

    Solution 4: Optimize Network Performance

    Network issues can cause lag and adversely affect your FPS in CS:GO, especially in online multiplayer matches. Here’s how you can optimize your network performance:

    1. Stable Internet Connection: Connect your computer directly to the router using an Ethernet cable to minimize latency and reduce the chance of FPS drops caused by an unstable Wi-Fi connection.
    2. Close Background Applications: Disable or close bandwidth-intensive applications or downloads running in the background while playing CS:GO. This will ensure that network resources are prioritized for the game.

    Conclusion

    By implementing the solutions outlined in this guide, you can significantly improve your CS:GO gaming experience by mitigating FPS drops. Remember to upgrade your hardware, optimize software settings, manage overheating, and optimize your network performance. We hope this comprehensive guide has been helpful in resolving the CS:GO FPS drop problem in 2021.

    If you have any further questions or need additional assistance, please feel free to reach out to us. Happy gaming!